|
 |
 |
 |
 |
 |
|
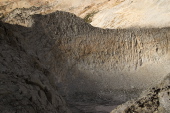
North ridge of Mt. Conness
2012/09/20 14:11:17 |
|
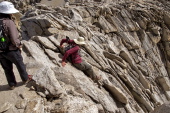
Bill downclimbs the crux of the climb.
2012/09/20 14:14:35 |
|
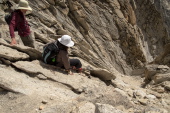
Stella downclimbs the crux, taking care not to slide into the abyss.
2012/09/20 14:15:02 |
|
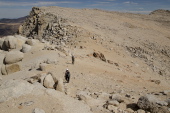
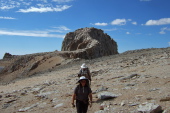
Stella and Bill are done with the descent of the summit and begin the long trek across the plateau to The Notch.
2012/09/20 14:22:45 |
|
It's a relief to be done with the summit.
2012/09/20 14:34:53 |
|
|
|
 |
 |
 |
 |
 |
|
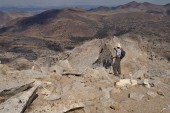
Bill photographs the start of the east ridge descent.
2012/09/20 14:39:33 |
|
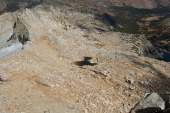
Top of East Ridge Descent Route from Mt. Conness
2012/09/20 14:39:34 |
|
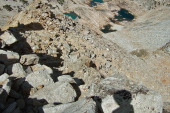
View further down the east ridge of Mt. Conness
2012/09/20 14:39:36 |
|
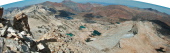
View showing how the east ridge route leads down into Hall Valley to the right
2012/09/20 14:39:39 |
|
East Ridge Route to Mt. Conness
2012/09/20 14:42:00 |
|
|
|
 |
 |
 |
 |
 |
|
One last look back at the summit that looks like elephant's head
2012/09/20 14:48:59 |
|
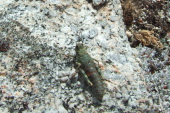
A cricket that is still partially larval.
2012/09/20 15:07:40 |
|
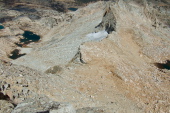
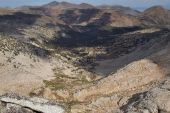
View down Hall Valley from Conness south ridge
2012/09/20 15:20:11 |
|
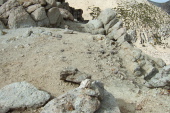
Cairns mark the low point on the south ridge where a use trail descends to the east.
2012/09/20 15:33:05 |
|
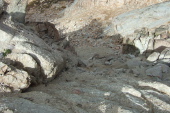
The steep, sandy use trail leads down from here.
2012/09/20 15:33:22 |
|
|


